How To Use Google’s Spellcheck Feature Everywhere in Chrome?
Spellcheck has become an indispensable tool for individuals across various domains. Whether you’re a student writing an assignment, a professional crafting a business proposal, or simply engaging in online conversations, ensuring the accuracy of your writing is paramount. A well-spelled and error-free document not only enhances your credibility but also conveys your ideas more effectively.
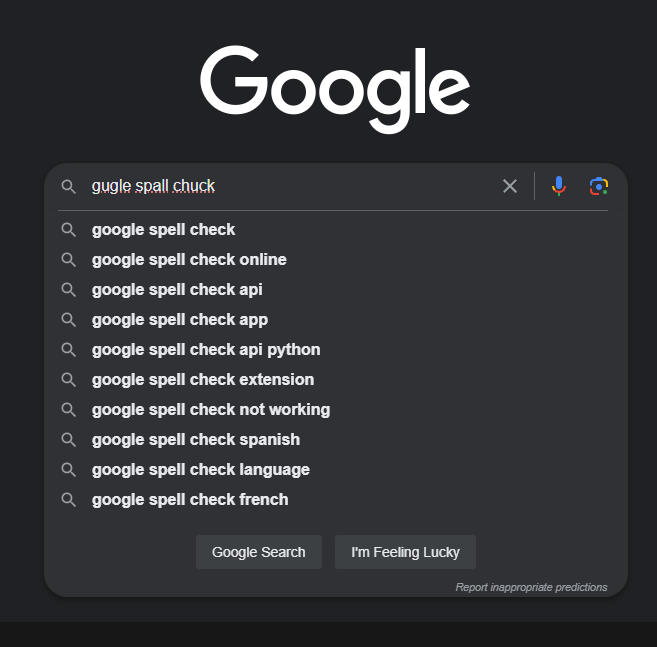
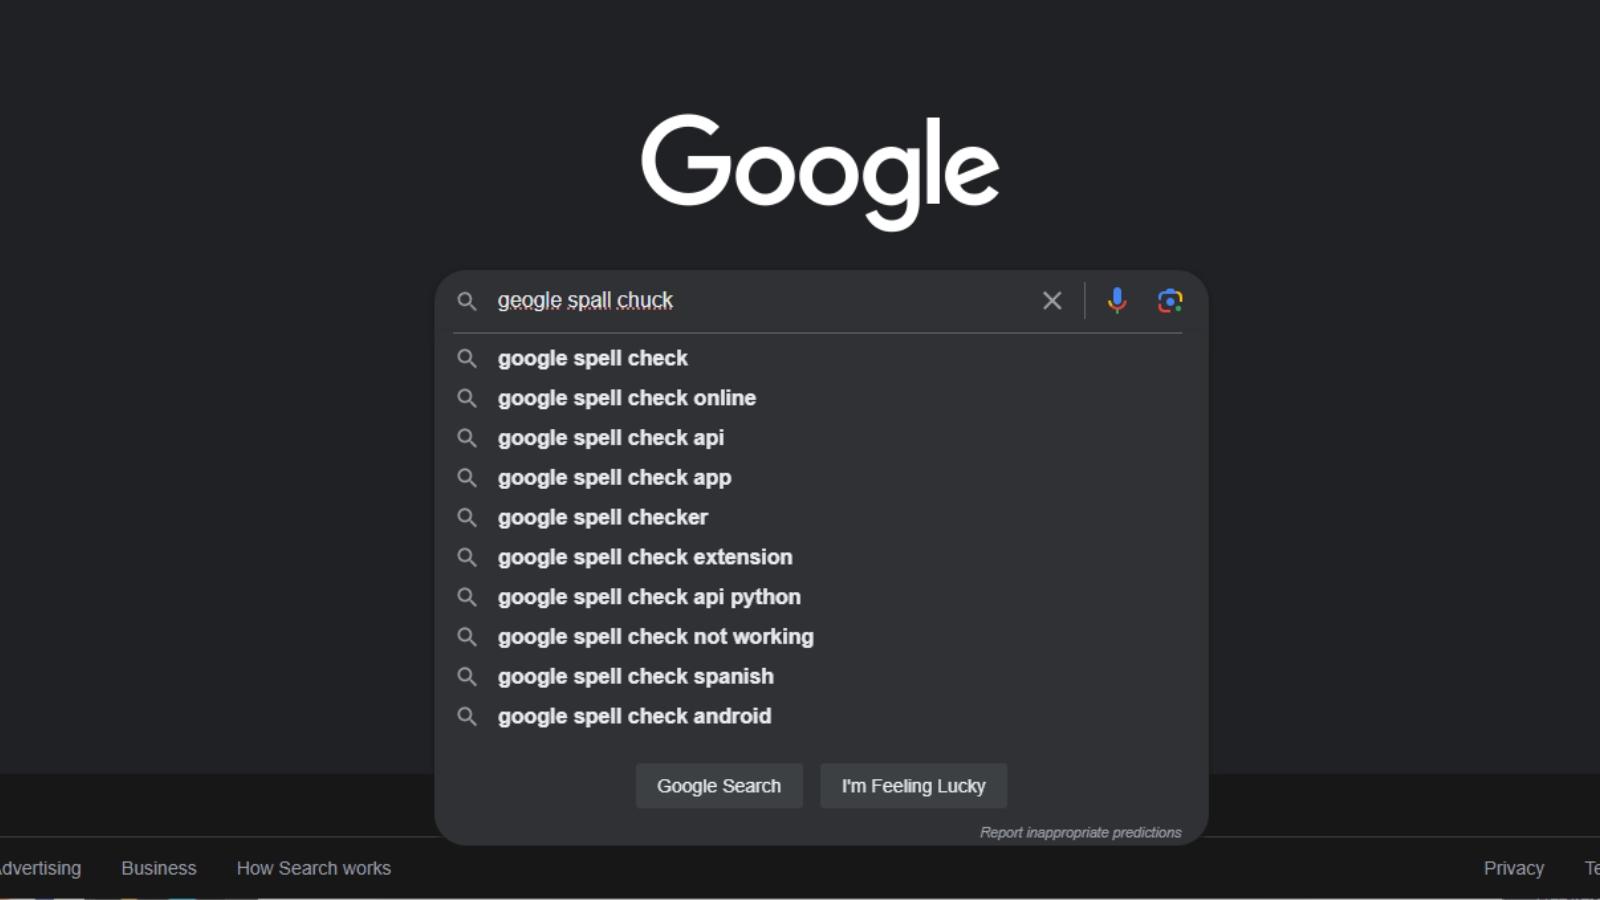
Google’s spellcheck has earned a reputation for its accuracy, speed, and extensive language support, making it the spell-checking powerhouse of choice for many. In Fact, 97% of people rely on Google for spell-checking. Well, what if I told you that you can harness the same spell-checking power across all your Chrome applications?
In today’s DIY IT Diagnostics post, we will guide you on how to enable and utilize Google’s powerful spellcheck feature everywhere in Chrome.
How to Use Google’s Mighty Spellcheck Everywhere in Chrome:
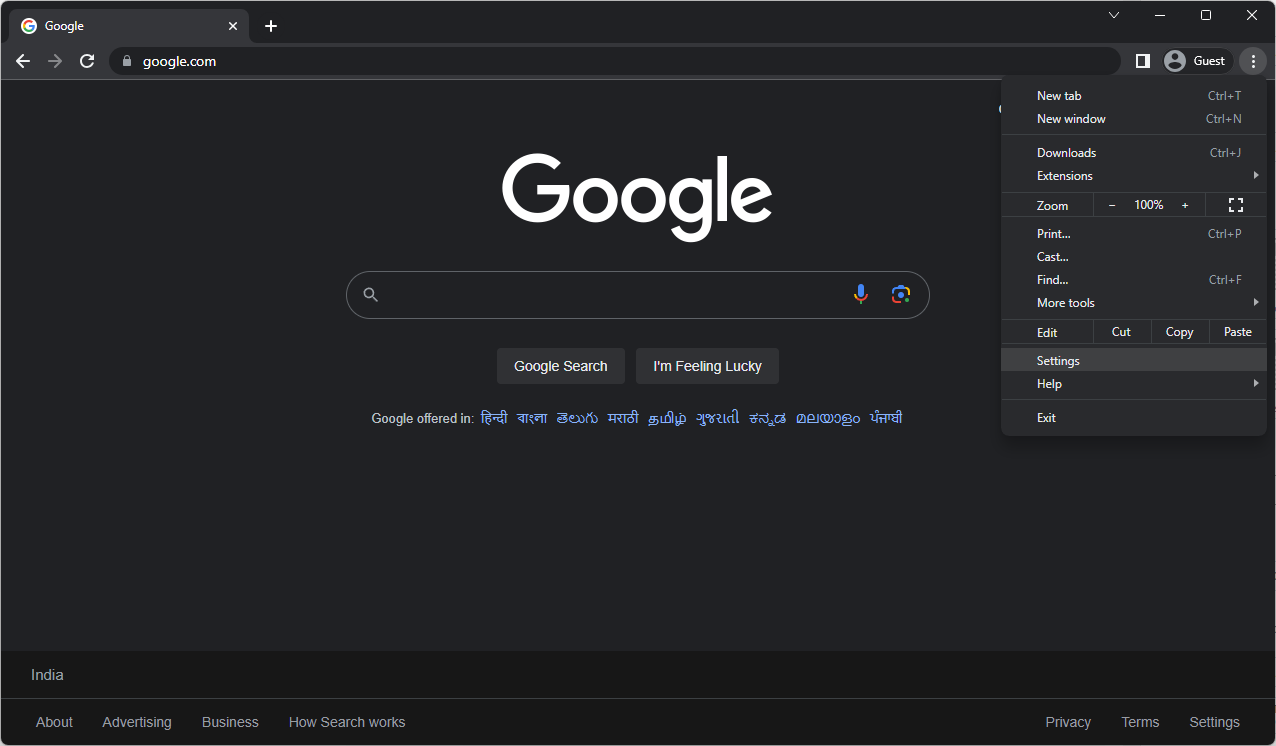
Step 1: Open Google Chrome Settings:
Start by launching Google Chrome and clicking on the three-dot menu icon located at the top-right corner of the browser window. From the drop-down menu, select “Settings.”
Step 2: Access Language Settings:
In the Chrome Settings menu, locate and click on the “Languages” option. This section allows you to manage the language settings for your browser.
Step 3: Enable Spellcheck:
Within the Language settings, you’ll find the “Spellcheck” toggle button. Turn it on to activate the spell-checking feature.

Step 4: Opt for Enhanced Spellcheck:
To enhance the spell-checking capability even further, choose the “Enhanced Spellcheck” option. This ensures a more comprehensive and accurate spellcheck across your Chrome applications.

By following these simple steps, you can unlock Google’s powerful spellcheck feature throughout your Chrome browsing experience. Say goodbye to embarrassing typos and confidently compose error-free documents, emails, and messages.
Consider Privacy:
While the convenience of Google’s enhanced spellcheck is undeniable, it’s essential to be aware of the privacy implications. Enabling the “Enhanced Spellcheck” option means that your typing data will be sent to Google. Take a moment to evaluate whether you are comfortable with this arrangement before proceeding.
Remember, it’s always a good idea to proofread your work, even with the assistance of spellcheck. Human review ensures context and accuracy, complementing the machine’s capabilities. So, give it a try and experience the spell-checking prowess of Google wherever you go in Chrome. Happy writing!
Disclaimer:
This blog post is for informational purposes only. The mentioned steps are accurate at the time of writing, but interface updates or changes by Google may result in slight variations in the process. Always refer to the latest official documentation or seek assistance from official support channels for the most up-to-date instructions.